Updated July 2026
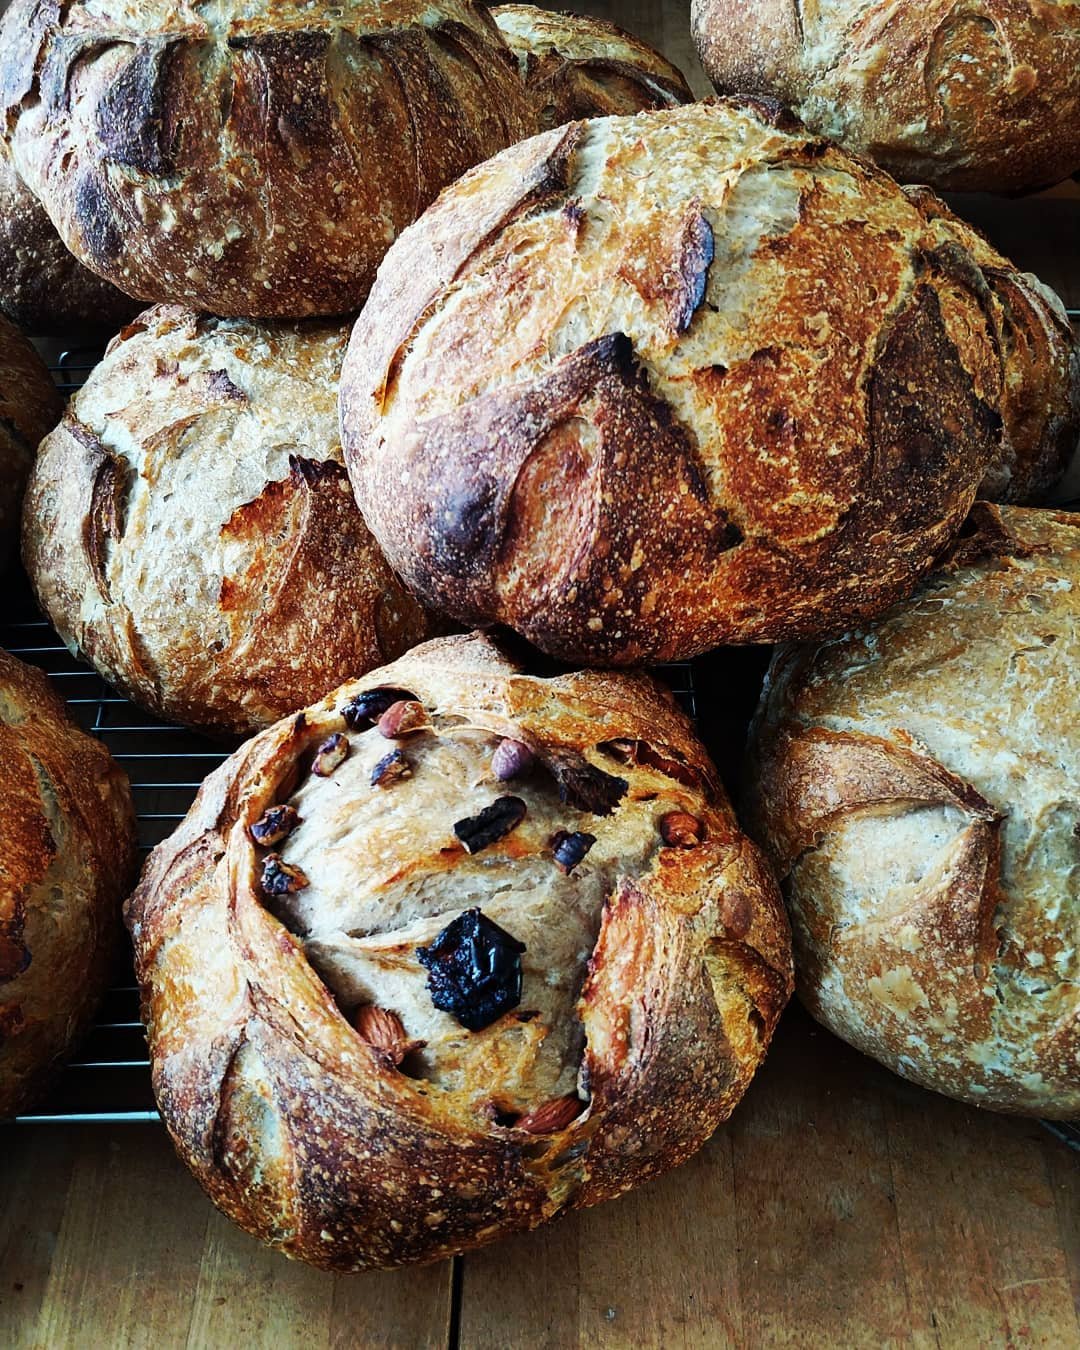
Photography by Pascale's Kitchen Studio
THE STARTER
✦ A sourdough starter is a living culture — it needs regular feeding to stay healthy and active. Feed it at consistent intervals with equal weights of flour and water, and keep it in a clean jar in the refrigerator if you bake less than once a week.
✦ Before using your starter in a recipe, it must be active and bubbly — fed within the last 8–12 hours and at peak activity. A starter that has been neglected in the refrigerator needs at least two or three feedings over a couple of days before it is ready to leaven bread.
✦ To test whether your starter is ready, drop a small spoonful into a glass of water. If it floats, it is active and ready to use. If it sinks, give it another feeding and wait.
✦ A starter that smells pleasantly sour and yeasty is healthy. One that smells like acetone or nail polish remover has been left too long without feeding — it can be revived with a few feedings but may take a few days.
✦ Never use a metal bowl or utensils with your starter — the acids in the starter can react with metal over time. Glass, ceramic or food-safe plastic are all ideal.
FLOUR
✦ Use unbleached flour wherever possible — bleached flour contains additives that can inhibit fermentation.
✦ Bread flour has a higher protein content which gives a stronger gluten network and a better rise than all-purpose flour. In our sourdough workshops we use a blend of bread flour and whole wheat flour — the bread flour gives strength and structure while the whole wheat adds flavor, feeds the wild yeast more actively and gives the finished loaf a beautiful depth of color. This is a reliable combination for home bakers and the one we recommend as a starting point.
✦ Adding a small percentage of rye flour — even just 5-10% — dramatically improves fermentation activity and adds a depth of flavor that is worth the small extra step.
HYDRATION
✦ Sourdough recipes are often expressed as a percentage of hydration — the ratio of water to flour. A 75% hydration dough (750g water to 1000g flour) is manageable for beginners. Higher hydration doughs (80–90%) give an open, airy crumb but are much stickier and harder to handle.
✦ If you are new to sourdough, start with a lower hydration dough and work your way up as you become more comfortable with the feel of the dough.
MIXING AND KNEADING
✦ Sourdough does not require traditional kneading. The stretch and fold method — pulling the dough up and folding it over itself, rotating the bowl and repeating — is gentler and more effective for developing gluten in a wet dough.
✦ Perform 4–6 sets of stretch and folds in the first two hours of bulk fermentation, spaced 30 minutes apart. After that, leave the dough to ferment undisturbed.
✦ Wet hands rather than floured hands are better for working with sticky sourdough — they prevent the dough from sticking without adding extra flour, which would change the hydration.
BULK FERMENTATION
✦ Bulk fermentation is the most important and most variable stage of sourdough baking. It is complete when the dough has grown by 50–75%, feels airy and jiggly, and has small bubbles visible on the surface and sides.
✦ Temperature controls fermentation speed more than anything else. A warm kitchen (75–78°F / 24–26°C) will ferment in 4–6 hours. A cool kitchen can take 8–12 hours or more. Never go by time alone — always go by the look and feel of the dough.
✦ Under-fermented dough will give a dense, gummy crumb. Over-fermented dough will be slack, sticky and unable to hold its shape. Learning to read the dough is the most important skill in sourdough baking.
SHAPING
✦ Shape the dough on an unfloured surface — a little friction helps build surface tension, which is what gives the loaf its structure and oven spring.
✦ A well-shaped loaf should feel taut on the outside, like a drum. If it feels slack or the surface tears, the shaping needs more practice.
COLD PROOFING
✦ After shaping, place the dough in a floured banneton or a bowl lined with a well-floured cloth, cover, and refrigerate overnight — anywhere from 8 to 16 hours. This cold proof develops flavor and makes the dough easier to score.
✦ Cold dough goes straight from the refrigerator into the oven — do not let it come to room temperature first.
BAKING
✦ Bake sourdough in a covered Dutch oven or clay baker for the first 20 minutes — the steam created inside mimics a professional steam-injected oven and gives the bread its characteristic crust and oven spring.
✦ Preheat the Dutch oven inside the oven for at least 20 minutes before baking. The dough goes into a screaming hot vessel — this is what gives sourdough its dramatic rise in the oven.
✦ Score the dough just before it goes into the oven with a sharp lame or razor blade at a 30–45 degree angle. Scoring controls where the bread expands.
✦ Remove the lid of the Dutch oven after 20 minutes to allow the crust to brown and caramelize. Continue baking until the crust is deep golden brown — sourdough should look darker than you think it needs to be.
✦ The internal temperature of a fully baked sourdough loaf should be 205–210°F / 96–99°C.
CUTTING THE BREAD
✦ Do not cut into the bread until it has cooled completely — at least 45 minutes to 1 hour for a regular loaf, longer for a large one. The crumb is still setting as the bread cools, and cutting too early will give you a gummy interior even if the bread is perfectly baked. This is the hardest rule to follow and the most important one.
SOURDOUGH BREAD WORKSHOPS
✦ Sourdough is one of those crafts that is best learned by doing — there is no substitute for having your hands in the dough. If you would like to learn in person, I run sourdough bread workshops in Santa Barbara throughout the year, limited to six participants for a fully hands-on experience. View upcoming workshop dates →